The great thing about Windows Admin Center (WAC) you manage every Windows Server doesn’t matter where it is running. You can manage Windows Servers on-prem, in Azure or running at other cloud providers. Now if you want to use Windows Admin Center to manage your virtual machines running in Azure, you can use either an on-prem WAC installation and connecting it using a public IP address or a VPN connection, or you can deploy and install Windows Admin Center in Azure. This blog post will show you how you can deploy and install Windows Admin Center in an Azure virtual machine (VM).
How to deploy and install Windows Admin Center in an Azure virtual machine (VM)
With this guide, you can directly deploy and install a new Windows Admin Center gateway in an Azure VM. If you have already a VM deployed, you can also follow this guide to install Windows Admin Center manually. For the installation, we will use Azure Cloud Shell do run a PowerShell installation script.
Preparation
As mentioned we will run the installation script from Azure Cloud Shell. Optionally you can also install Azure PowerShell on your location machine and run the same steps for the installation on your local machine.
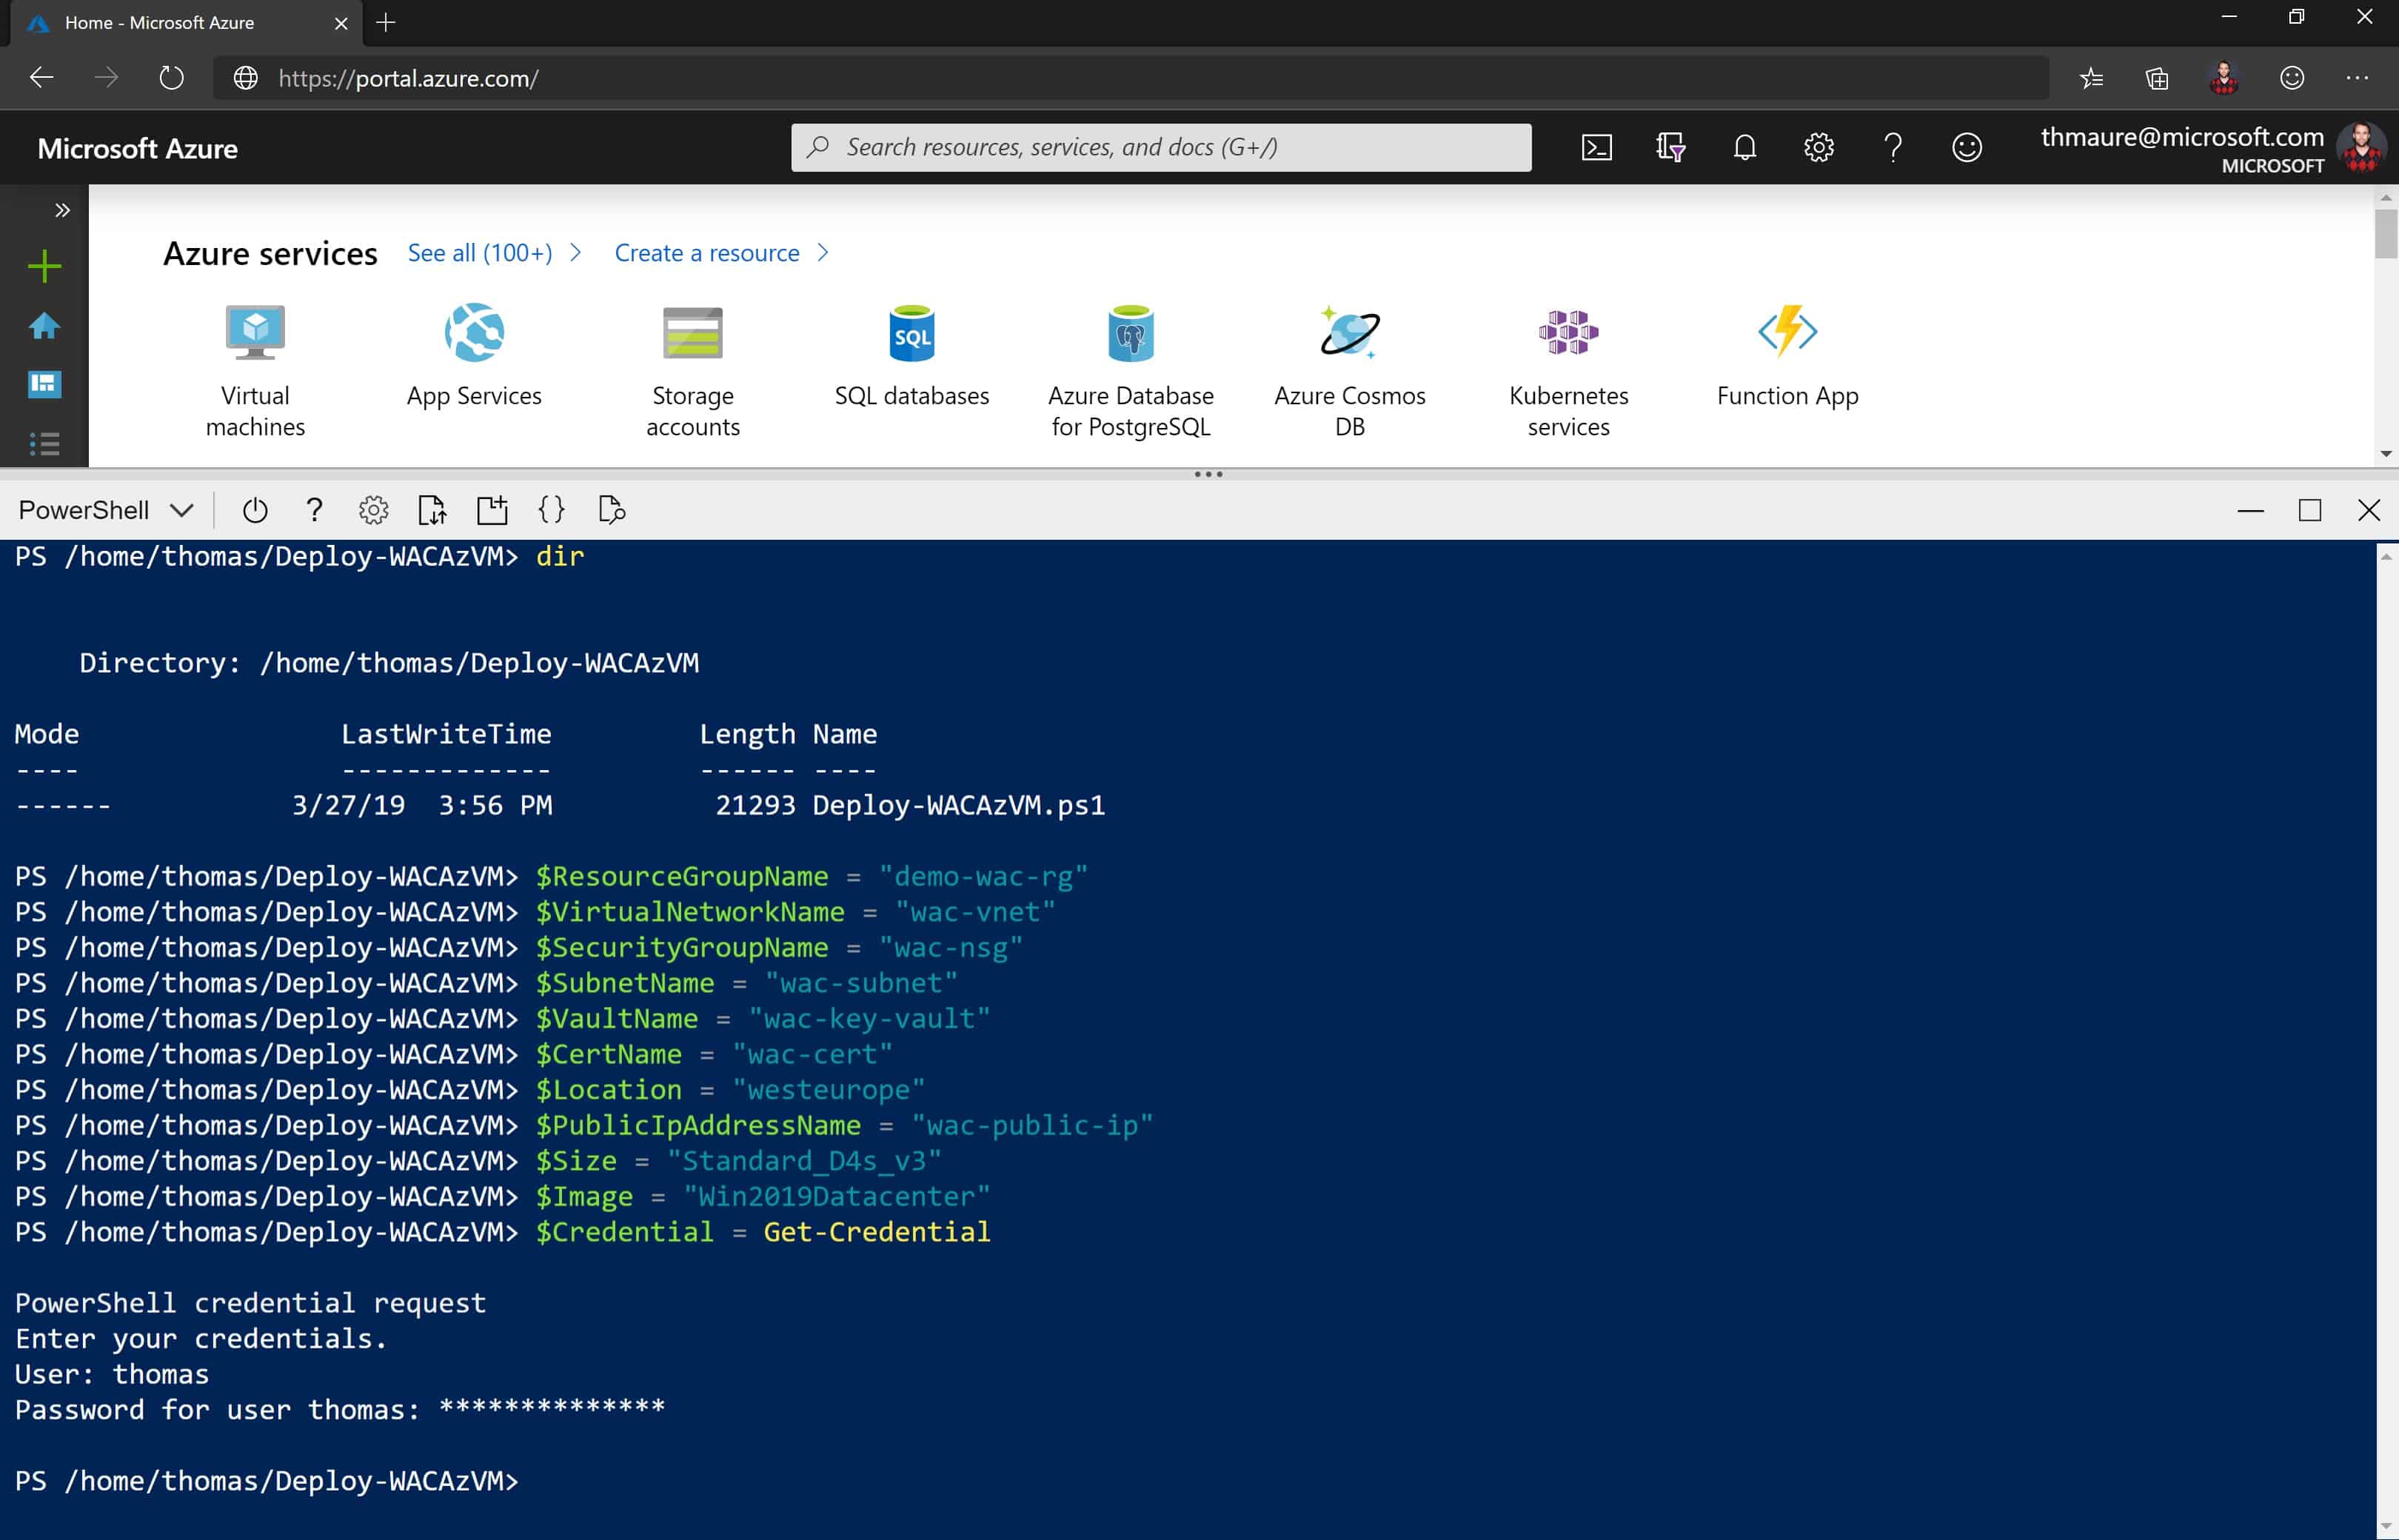
- Set up Azure Cloud Shell if you haven’t done it yet.
- Start the PowerShell experience in Cloud Shell.
- Optional: If you want to use your own existing certificate, upload the certificate to Azure Key Vault.
Installation
Now you can start with the installation process. First, you will need to download the installation script from the following URL. Navigate to your home directory and download the file using PowerShell.

Download Windows Admin Center with PowerShell in Cloud Shell
# Navigate to your home directory
cd ~

# Download file
Invoke-WebRequest -Uri https://aka.ms/deploy-wacazvm -OutFile Deploy-WACAzVM.zip

# Expand Zip file
Expand-Archive ./Deploy-WACAzVM.zip

# Change Directory
cd Deploy-WACAzVM
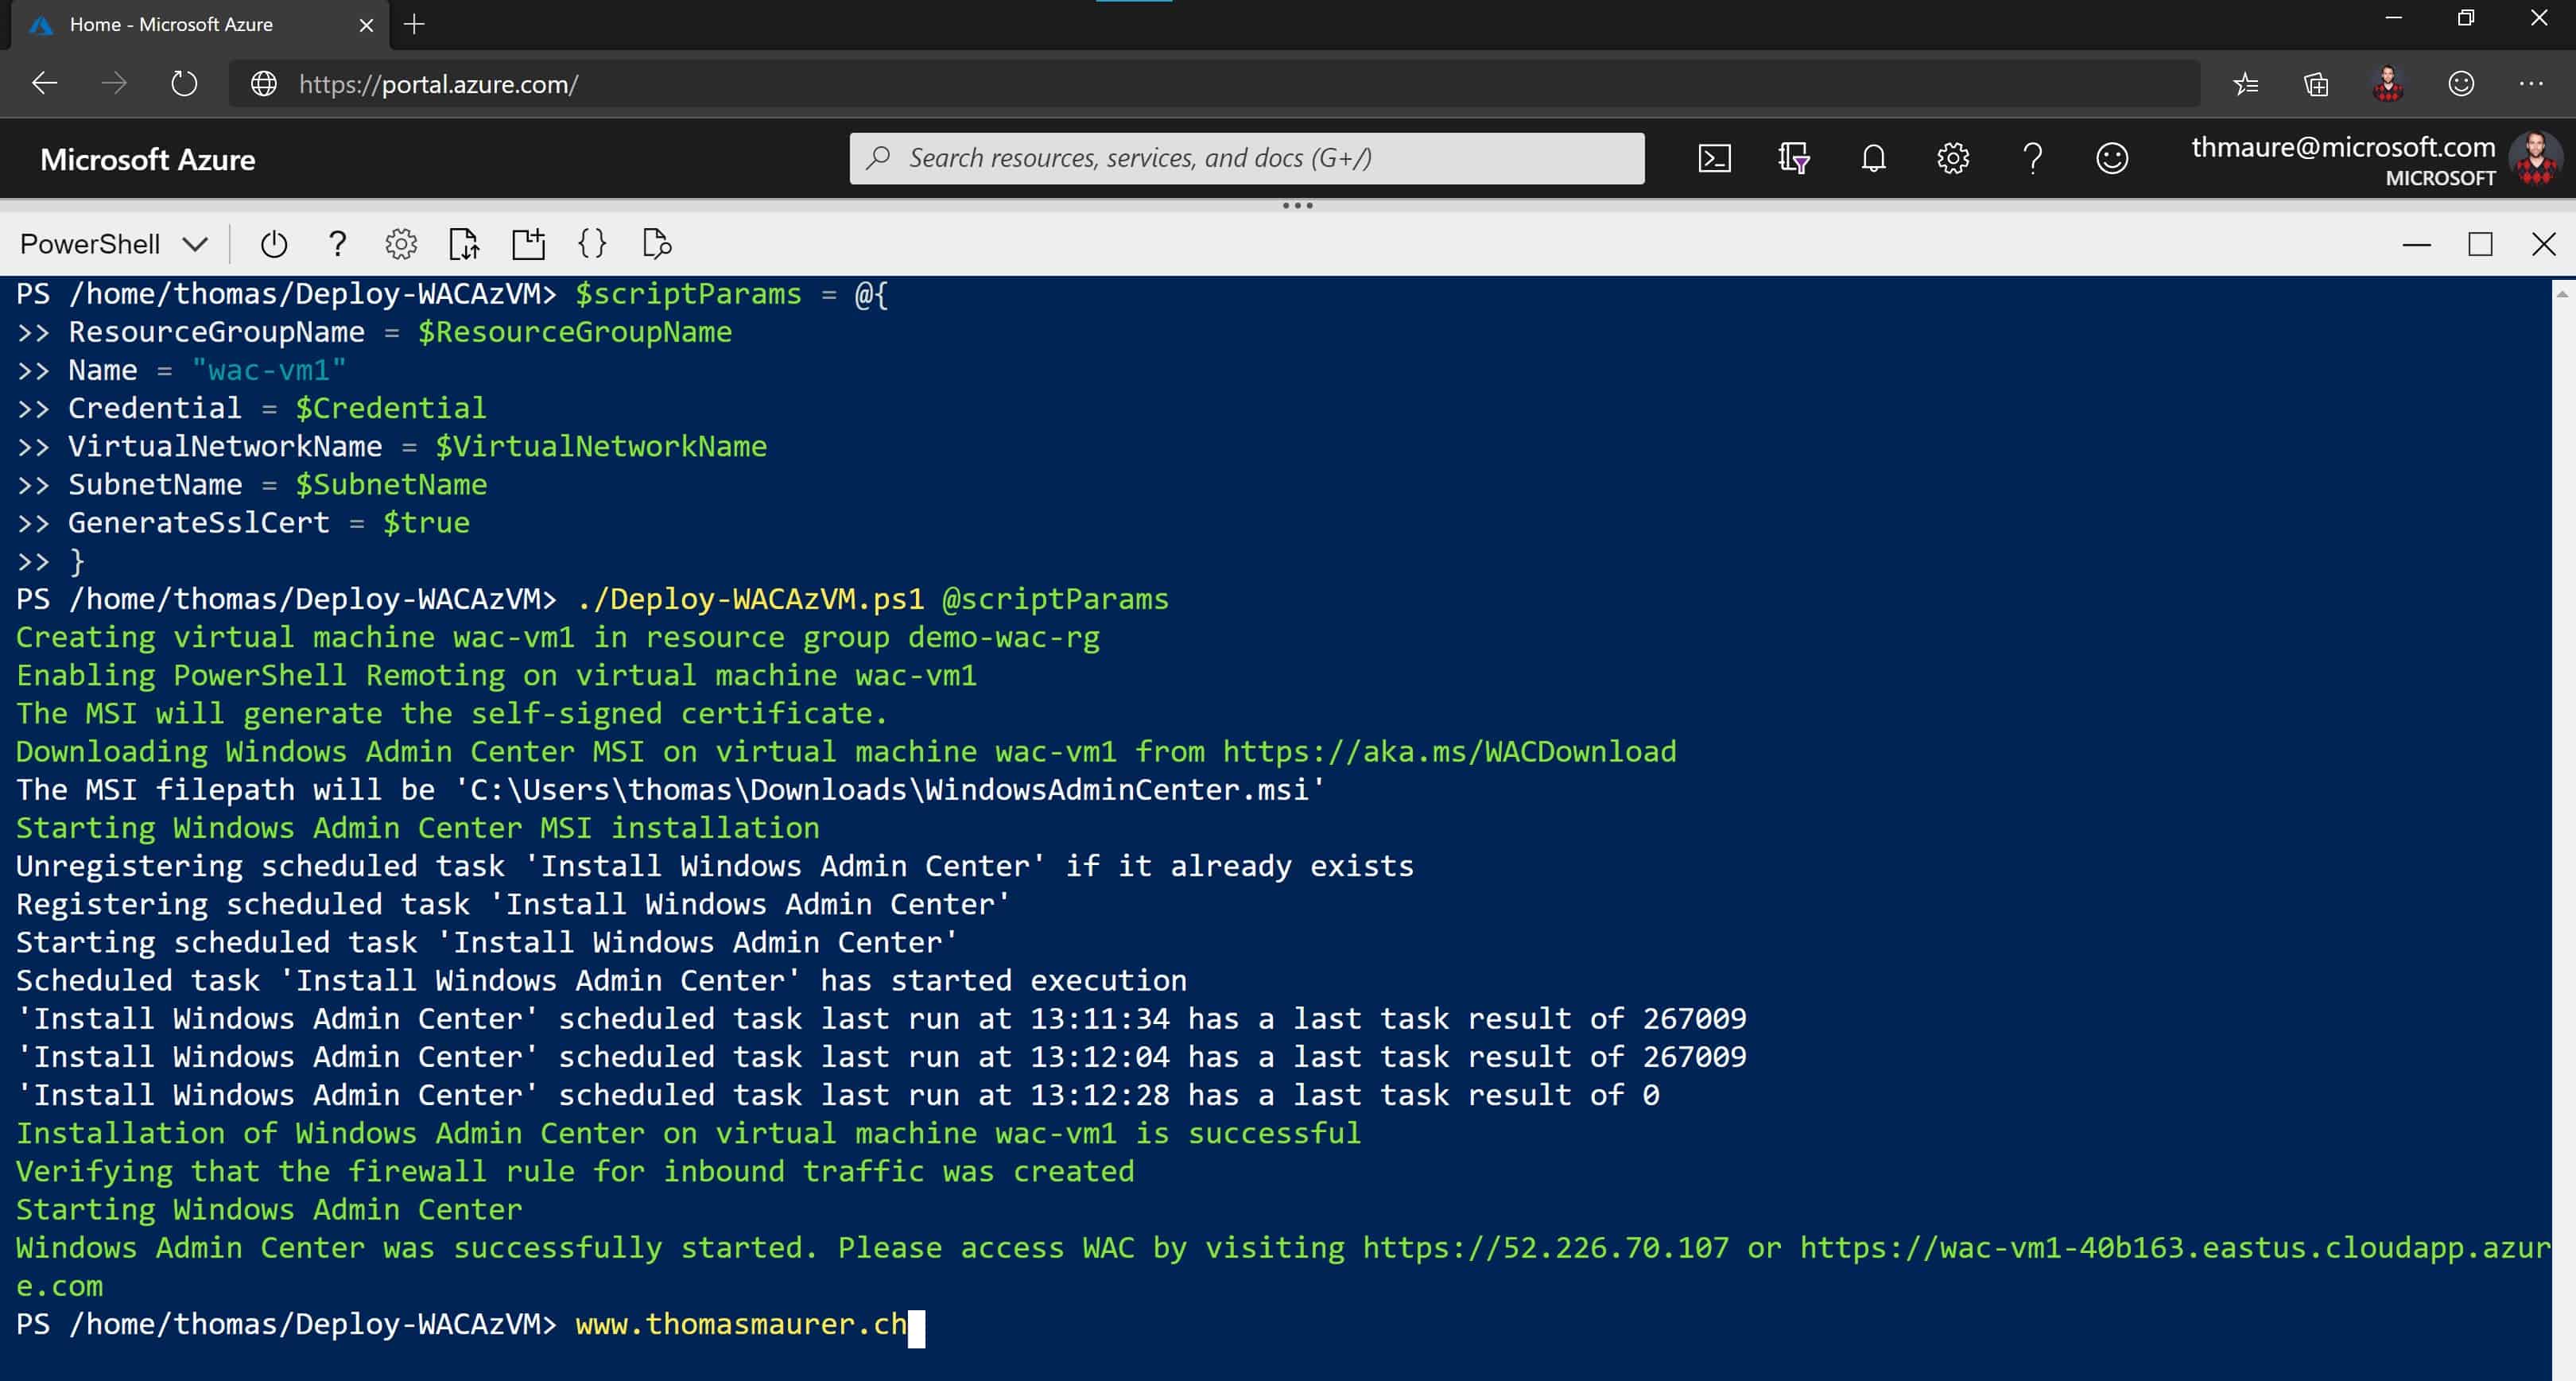
After successfully downloading and unpacking the Windows Admin Center deployment script, you will need to modify a couple of parameters. I will use the default parameters to deploy a new Windows Server 2019 and generate a self-signed certificate. However, if you want to use other options, check out the script parameter list.
Configure Parameter
$ResourceGroupName = "demo-wac-rg"
$VirtualNetworkName = "wac-vnet"
$SecurityGroupName = "wac-nsg"
$SubnetName = "wac-subnet"
$VaultName = "wac-key-vault"
$CertName = "wac-cert"
$Location = "westeurope"
$PublicIpAddressName = "wac-public-ip"
$Size = "Standard_D4s_v3"
$Image = "Win2019Datacenter"
$Credential = Get-Credential

$scriptParams = @{
ResourceGroupName = $ResourceGroupName
Name = "wac-vm1"
Credential = $Credential
VirtualNetworkName = $VirtualNetworkName
SubnetName = $SubnetName
Location = $Location
Size = $Size
Image = $Image
GenerateSslCert = $true
}
./Deploy-WACAzVM.ps1 @scriptParams
This will deploy a new Azure virtual machine with Windows Admin Center installed and open the specific port 443 on the public IP address. You can find more install options and parameters to install WAC on an existing virtual machine or with an existing certificate on Microsoft Docs.
Deploy and Configure Windows Admin Center in Azure VM
After the deployment has finished, simply click on the URL or IP address and it will open the Windows Admin Center portal.
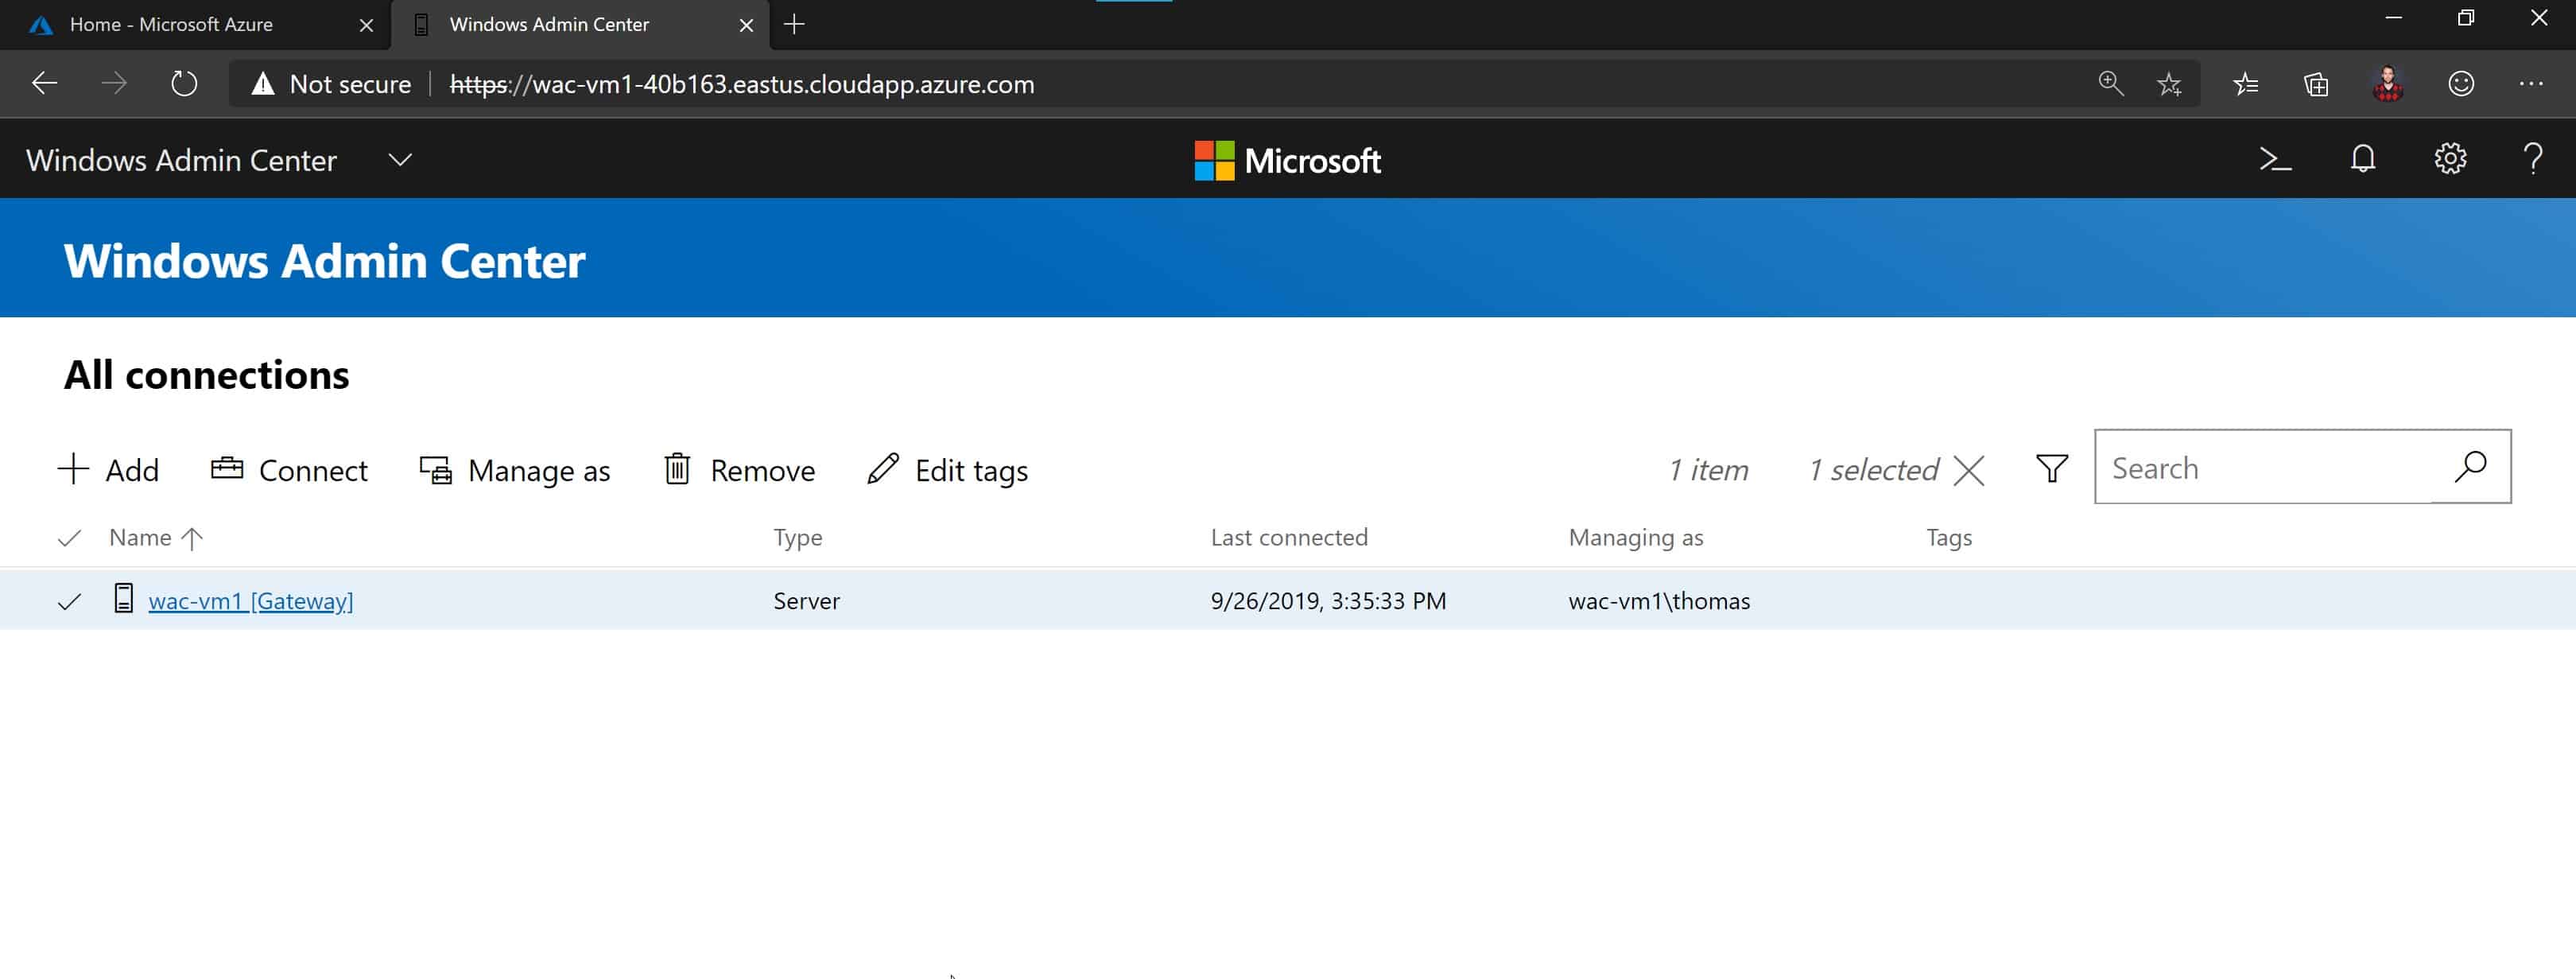
Windows Admin Center Running in Microsoft Azure
I hope this gives you an overview about how you can deploy Windows Admin Center in an Azure VM. If you have any questions, please let me know in the comments.
Tags: Access, Azure, Azure Cloud Shell, Azure VM, Cloud Shell, deploy, IaaS, install, Microsoft, PowerShell, Virtual machines, WAC, Windows Admin Center, Windows Server, Windows Server 2016, Windows Server 2019 Last modified: October 14, 2019


nice post